
Add your logo and colours
Put your brand name, logo and colours on the sign-in page, the client portal, your website and your emails.
What it is
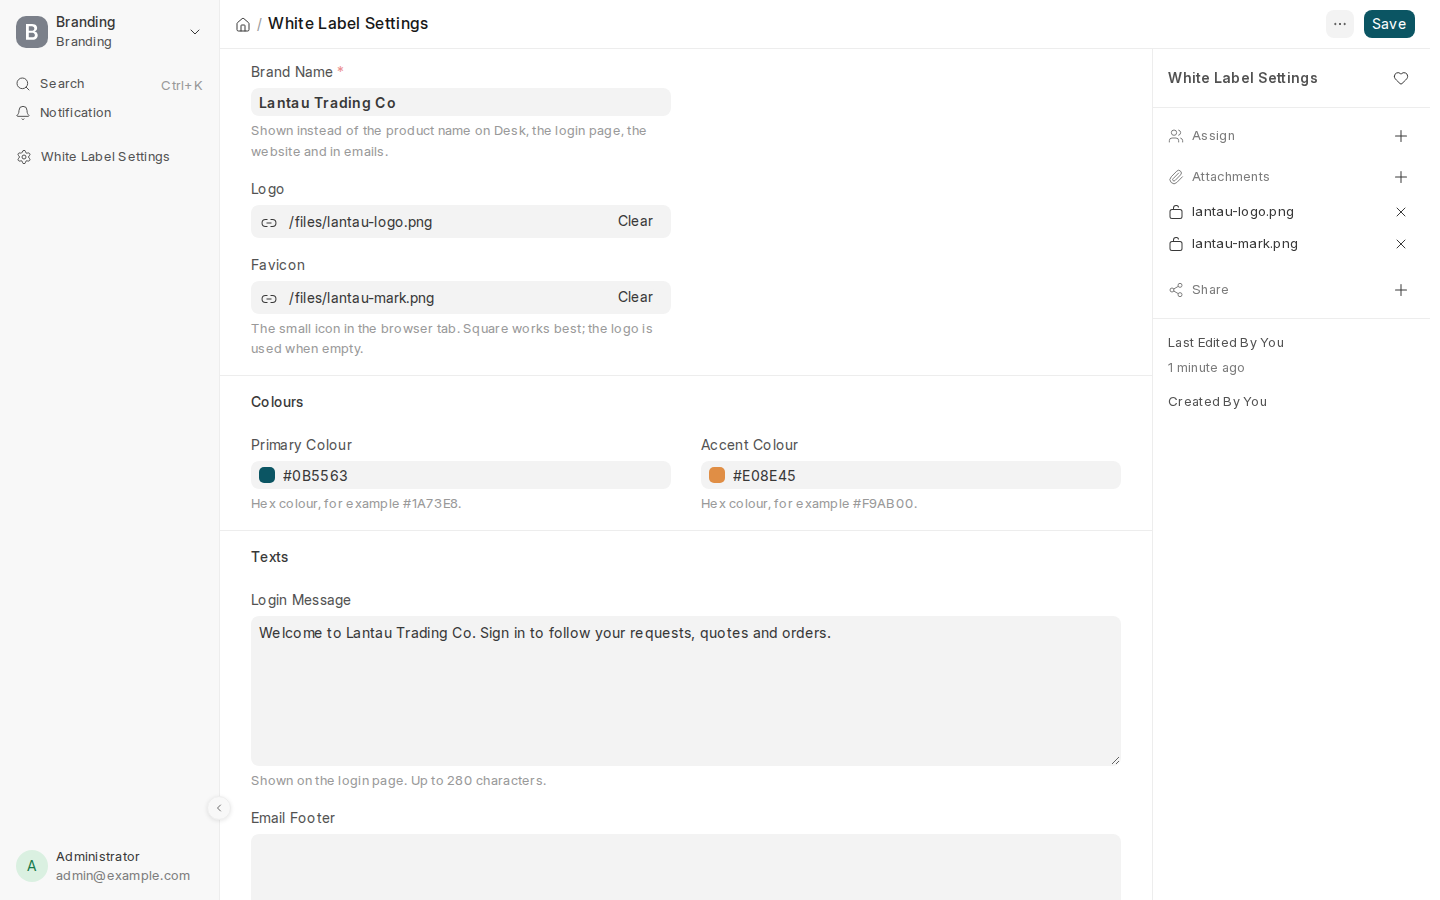
Your brand — the name, logo, small browser-tab icon and two colours — shows on the sign-in page, the client portal, your website and the emails your site sends. Your clients see your brand, not ours. On a new site, the Day One page’s first step, Your brand, is where you set them.
Why it matters
Your clients sign in to the portal to send requests and follow their orders. With your logo and colours it is your agency’s portal, which is what they expect from a professional sourcing agent.
Steps
- On the Day One page (it opens the first time you sign in), find Your brand.
- Check the Brand Name. It starts as the company name you gave at signup.
- Under Logo, select Attach and upload your logo. A PNG with a transparent background, at least 400 pixels wide, looks best.
- Optional: attach a Favicon, the small square icon in the browser tab. Without one, your logo is used.
- Under Colours, set the Primary Colour and Accent Colour as hex codes, for example
#1A73E8. - Optional: write a Login Message for the sign-in page (up to 280 characters) and an Email Footer (up to 500 characters).
- Select Save. Open your site’s address in a private browser window to see the new sign-in page.
To change your brand later, type White Label Settings in the search bar; the same fields are there. Your company record’s logo follows the brand logo, so your documents always print the current one.
Common mistakes
- Uploading a logo with a white background. It shows as a white box on dark pages; use a transparent PNG.
- Choosing two colours that are too close. Buttons use the primary colour and highlights the accent colour, so they need to look different.
Tips
- Your brand’s hex colours are usually in your brand guide or your designer’s files.
- The email footer is a good place for your company’s address and phone number.